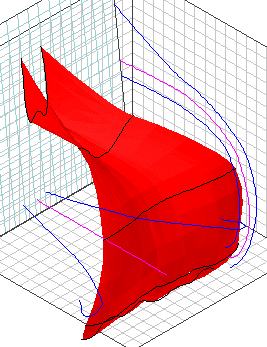
The first things I modeled were the petals of the hibiscus. As you can see, this is a line of bezier points in a row. Notice, however, that this is not a polygon, it is just a row of points that follow a pipeline path. Therefore the petal has no real depth. Only experimentation will show whether or not this method is any good for work that goes to print and has to be rendered in high resolution. So far, I haven't tried anything hi-res. Even the shaders are not very hi-res... 150 dpi or so.
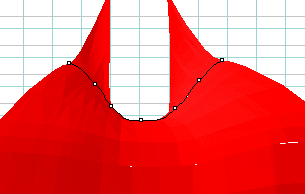
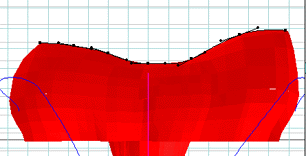

These show how the cross section of the petal is designed. Notice here how the left and right side of the cross sections are asymmetrical. This is because as you place the petals next to each other, they will intersect and give away the illusion of reality that you work so hard to make. With all of the petals higher on one side than the other, they will appear to naturally lay over each other without actually touching. This, I think, is a very important trick to remember when making flowers.
As the petal progresses, you may add points to the cross section. Remember to keep the overall length of the cross section the same distance. If you stretch the width too much, you will stretch the shader and the veins in the leaf will come out distorted. Another dead giveaway of a ray traced object.
I actually found that manipulating the envelope hurt the object quite a bit. This simply stretches everything and, again, the overall length of each cross section wound up distorted. I did use the central path of the envelope to aim the cross sections to where I wanted them to go, but that and smoothing the envelope points with the curve control tool was about it.
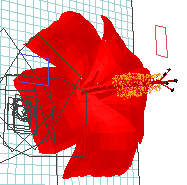
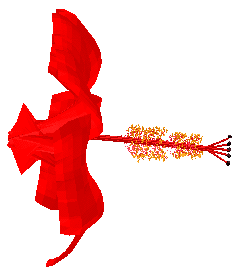
Here is the model with all the petals put in. I just took the first petal as it was already aligned in the box. I switched to an isometric front view, moved the hot spot to the center of where I wanted the flower and duplicated the petal with the menu command. I then used the numerical control palette to change the angle of the petal by 72 degrees. (360 degrees in a circle divided evenly by 5 petals=72 degrees) With a little more adjustment I found the correct angles for the first petal to take so that when it was duplicated and rotated 72 degrees each time, the petals would overlap, but not intersect.
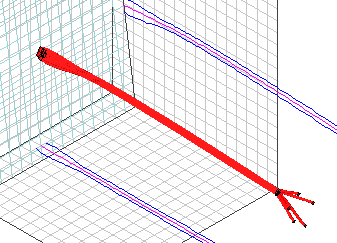
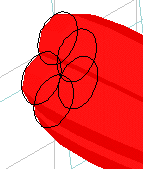

These are close ups of the pistil and stamens of the hibiscus. You can see that the central structure is 5 circles overlapping somewhat in the cross sections. As the parts need to separate and reach out toward the end, I inserted a cross section and then moved the circles away from each other. I later put the purple bulbs on the ends separately in a frontal view with an isometric camera.
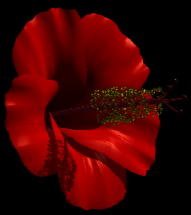
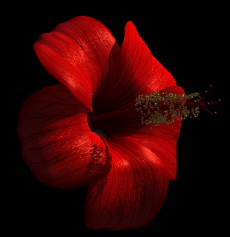
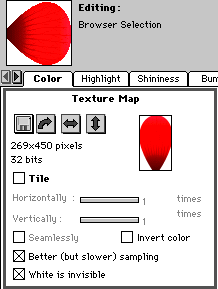
I made the shader with an actual plant next to me. Just as a teacher once explained that you can't work on a portrait while the model is on break, you can't achieve realism easily in your shaders without seeing what you want to recreate. Even a photograph of a plant would have been better than trying to make one without any reference whatsoever.
Notice how the color varies across the length of the petal.
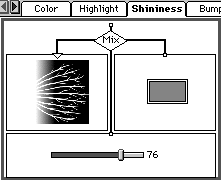
Here the shine layer is also a texture map as are most of the channels in this particular shader. My texture maps were all 150 DPI in this model.
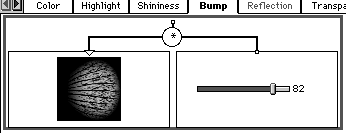
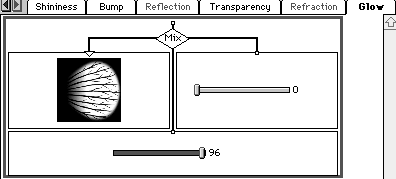
The bump, shine, and glow maps are all related. These were all made with layers in PhotoShop and were toggled to invert, multiply, darken, or whatever was needed to get the high values where they needed to be and the darks where they needed to be. I simply made a master and then played with it and saved the variations, but never saved over the original. I even went so far as to save the variations in PhotoShop format and then converted them to grayscale. Doing that, I always had a way to get back in and change just one aspect of the map.
I learned a lot from Steve McArdle at Green Iguana Graphics concerning the application of the different operator functions in channels of the shaders. I credit him with starting me out in this direction that is vital to quality shaders.
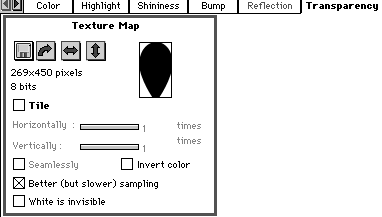
Finally, the overall shape of the leaf is created in the transparency channel. That is why you don't have to spend grueling hours of modeling petals and leaves. You just make simple sheets onto which the shader is painted. Be sure that your shape is only a black and white bitmap at a high enough resolution to fool the raytracer into thinking it's smoother than it really is. Also be sure to set the "White is transparent" checkbox. If you use antialiasing, your petals will come out with an ugly edge on them.
One thing I will say before I go is that the shaders get applied sideways to the direction of the plane generated in the freeform modeler. You will have to rotate the texture map with the little bent arrow function.
It's getting late and I've got to go... If you have questions, email me. Take care and good luck!